
Prepare Rice
Ingredients for Two Bentos
Rice: 360 ml
Water: After washing and adding the rice to a rice cooker, fill the pot to the “2合” (nigō) or two-cup line.
(Note: If your rice cooker will handle a larger amount of rice, the cooked rice will taste better if you cook 360 – 450 ml rice.)
How to Cook Rice
1. Wash the rice. Pour the rice into a mixing bowl add water and use your hands to vigorously agitate the rice. Pour the rice and water into a strainer. Return the rice to the mixing bowl and repeat this process 2 to 3 times.
2. Transfer the washed and strained rice to a rice cooker. Add water up to the“2合” or two-cup line inside the pot. When the rice is done cooking, use a shamoji (paddle-like utensil used for fluffing and serving rice) to fluff the rice with a cutting motion.
Tuna Miso Mayo Onigiri & Okaka Onigiri
Ingredients for One Bento
Cooked rice: 220 g
Salt: Pinch
Nori: 1/2 sheet (2)
(Note: Use nori from the Setouchi region of Japan.)
Tuna: 10 g
Miso: 1/3 tsp (about 1.5 g)
Mayonnaise: 1/3 tsp (about 2.0 g)
Katsuobushi: 2 g
Shoyu: 1 1/2 tsp
How to Make Tuna Miso Mayo Onigiri
1. Drain off the water from the tuna and then transfer the tuna to a mixing bowl. Add the miso and mayonnaise. Mix well.
2. Transfer about 110 g of cooked rice to a large mixing bowl. Add a pinch of salt and then use a shamoji to fluff the rice.
3. Place a square of plastic wrap on the counter and then place the rice on the wrap. Make a slight indentation in the middle of the rice.
4. Place some of the tuna mixture from step 1 in the indentation you made above.
5. Pick up the edges of the wrap to enclose the tuna mixture in the rice.
6. If you are right-handed, place the wrapped-up rice ball on your upward-facing left palm, and use your cupped right hand to form the rice into a triangular shape. This will require that you rotate and compress the rice fairly firmly about 7 or 8 times. If you are left-handed, you can do this procedure with the opposite usage of your hands.
7. Remove the plastic wrap and then wrap a piece of nori around the onigiri.
8. Wrap the onigiri in a new piece of plastic wrap to help the nori adhere to the onigiri. This should take about 10 minutes.
How to Make Okaka Onigiri
1. Put the katsuobushi into a large mixing bowl, add the shoyu, and mix well.
2. Add about 110 g of cooked rice to the bowl and use a shamoji to fluff the contents of the bowl so that the rice becomes evenly coated with the shoyu.
3. Place a square of plastic wrap on the counter and then spread the rice out in a more-or-less circular form on the wrap.
4. Pick up the edges of the wrap to enclose the rice.
5. If you are right-handed, place the wrapped-up rice ball on your upward-facing left palm, and use your cupped right hand to form the rice into a triangular shape. This will require that you rotate and compress the rice fairly firmly about 7 or 8 times. If you are left-handed, you can do this procedure with the opposite usage of your hands.
Tamagoyaki
Ingredients for One Bento
Eggs: 2
Salt: Dash
Sugar: 1 tsp
Salad oil: Dash
How to Make Tamagoyaki
1. Crack the eggs into a mixing bowl and beat them with a pair of cooking chopsticks. Do this by holding the tips on the bottom of the bowl and mixing without creating a foam on top. This technique will help to give the eggs a fluffy consistency even after they cool. Add the sugar and salt, and incorporate these into the eggs.
2. Put a tamagoyaki pan on medium heat and add the salad oil. If you use a non-stick pan, you can simply use a paper towel to spread a small amount of oil over the surface of the pan. If you use a pan that is not non-stick, a teaspoon of oil should do.
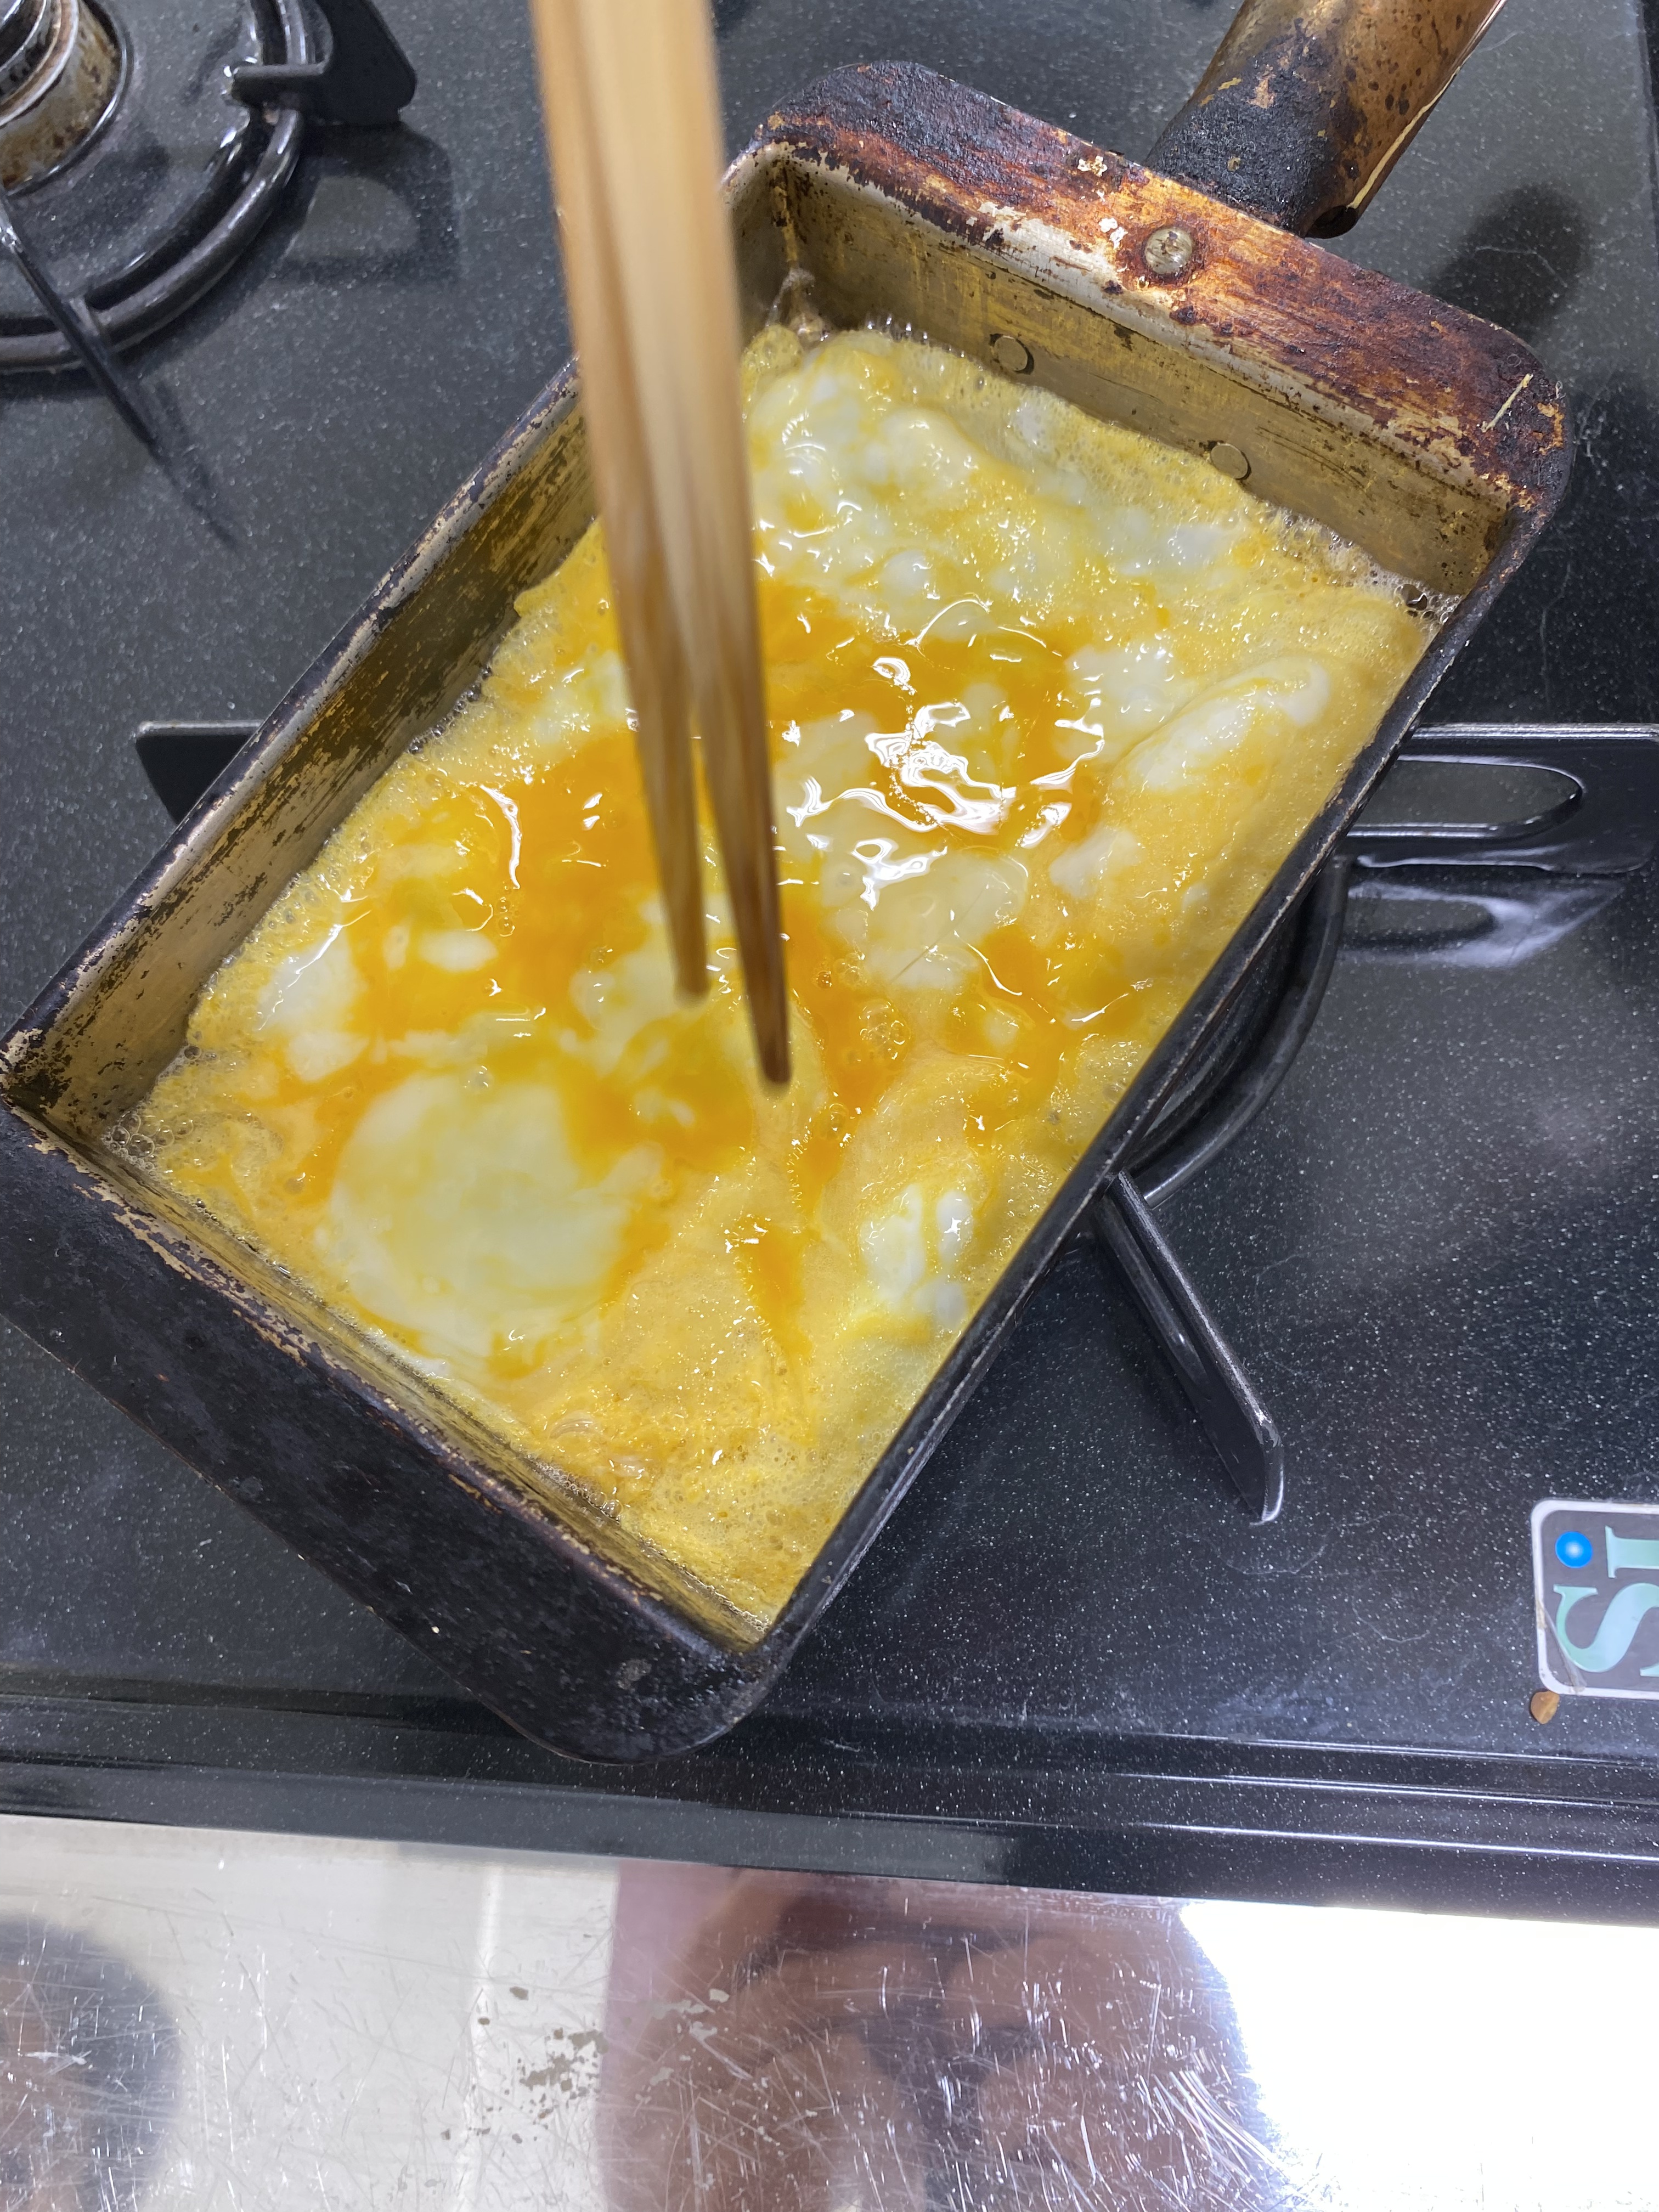
3. Add 1/3 of the egg mixture to the pan. When the egg begins to bubble, roll it up from the back of the pan. Return the rolled-up egg to the back of the pan.

4. Pour half of the remaining egg mixture into the pan. When the added egg begins to bubble, roll it up with the previously cooked egg from the back of the pan. Return the rolled-up egg to the back of the pan.
5. Pour the remaining egg mixture into the pan and repeat the above process.
6. Remove the egg to a cutting board. After it cools, cut it into pieces about 2-cm thick.
Spinach with Sesame Dressing
Ingredients for One Bento
Spinach: 1/2 of a bunch (about 100 g)
Salt: 1 tsp
Ground white sesame seeds: 1 tbsp
Sugar: 1 tsp
Shoyu: Little less than 1 tsp (about 0.8 tsp)
How to Make
1. Add the sugar, shoyu, and ground sesame to a mixing bowl and mix to make the dressing.
2. Break the spinach into individual leaves and rinse well.
3. Bring a medium-size pot of water to a boil and add the salt.
4. Fill a separate mixing bowl with cold water.
5. Once the water comes to a boil, hold the spinach by the leaf portion and submerse the stems in boiling water for 30 seconds, then submerge the leaf portion as well for an additional 20 seconds.
6. Transfer the spinach to the bowl of cold water. Once it cools, wring it out and then cut it into 3-cm lengths.
7. Add the cut spinach to the bowl with the dressing and mix well.
Boiled Broccoli
Ingredients for One Bento
Broccoli: 1 head
How to Make
1. Bring a pot of water to a boil.
2. Boil the broccoli for 2 minutes.
3. Remove the broccoli to a strainer and allow it to cool.
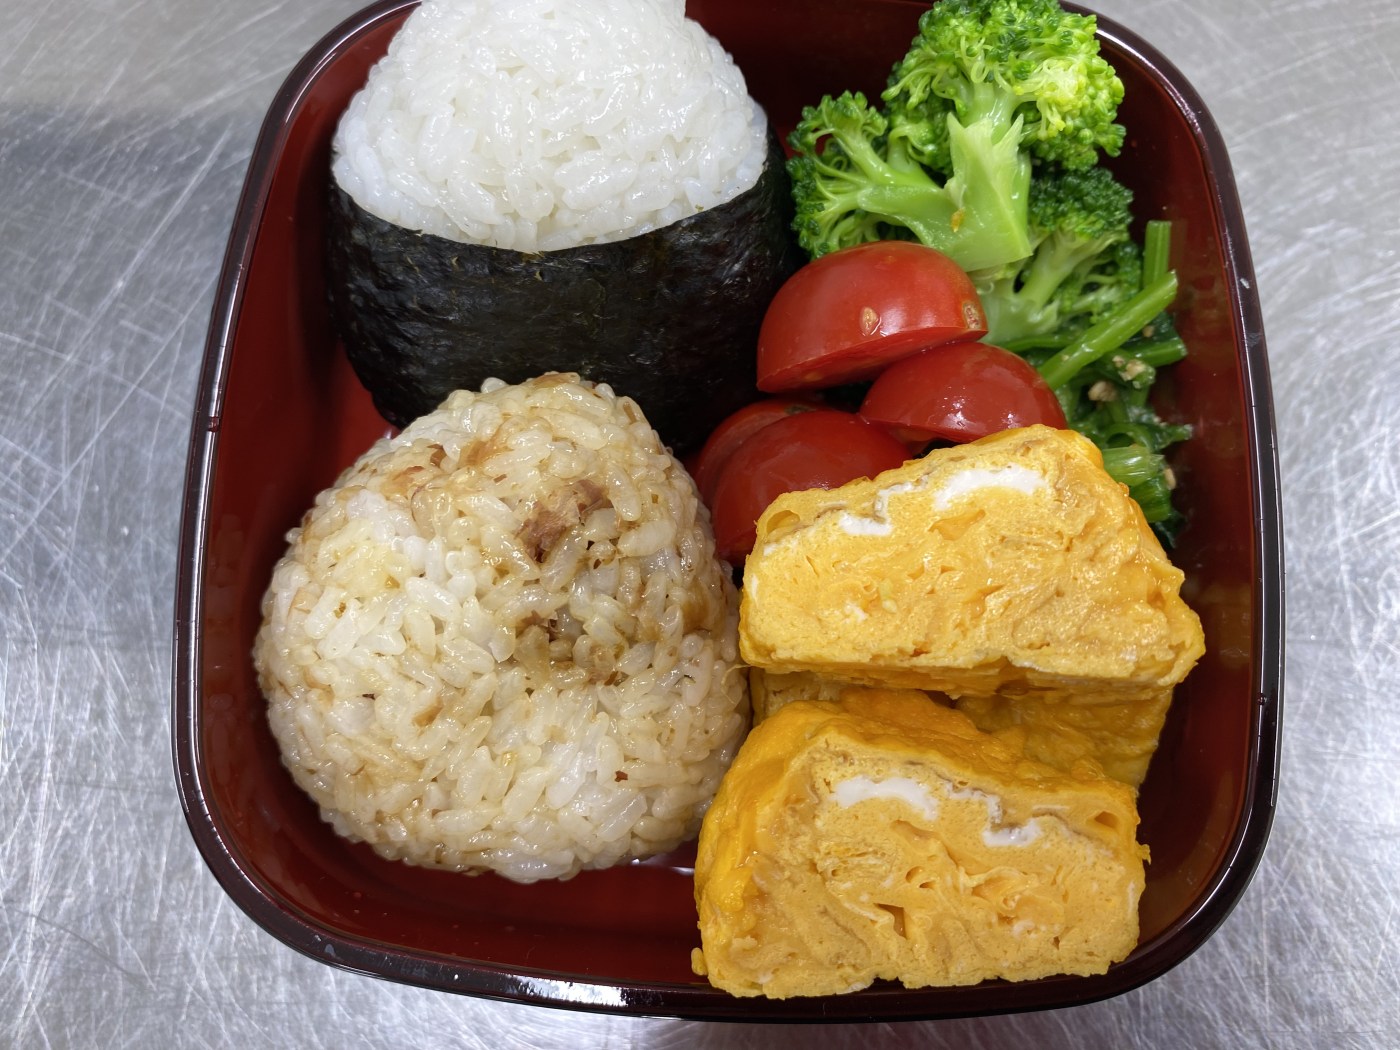
Tips for Putting Your Bento Together
Start with the largest items. For this bento, put the onigiri in first. Follow these with the tamagoyaki. If you can’t get them to fit well, cut them as needed. Add the spinach and then fill the remaining space with the broccoli. Feel free to add items such as cherry tomatoes, as well. These space fillers will help to prevent the contents of your bento from becoming jumbled as you carry it around.
A key for creating a beautifully arranged bento is to place items with contrasting colors next to each other. Placing items with very different colors—for example, green shiso leaves next to a very dark food item, red tomatoes next to green shiso leaves, or yellow items next to red ones—gives the bento a very vibrant appearance.
In addition, preparing bentos that include foods with five different colors—white, red, yellow, green, and brown—will help to ensure that your bentos are also nutritionally balanced. This color variety could be achieved, for example, with sesame seeds (white), cherry tomatoes (red), egg yolk (yellow), spinach and broccoli (green), and meat (brown).
※A Few Notes on Nori
Nori comes in several varieties and the unique qualities of each can be brought out by wrapping them around onigiri, enclosing the onigiri in plastic wrap, and setting the onigiri aside for five hours.
Korean Nori
Korean nori is easy to eat. Wrapped around onigiri, it has a little bit of stretch, but becomes one with the rice and is easily cut with the teeth.
Setouchi Nori
This nori, too, is easy to eat and provides a very satisfying impression when biting through it. It also offers a delicate nori aroma when used for onigiri.
Ariake First-Harvest Nori
Unlike the first two nori examples, this one is a bit stretchy and difficult to bite through. This characteristic causes onigiri to crumble as it is eaten.
Factors such as processing method and seaweed type (which differs depending on where it was harvested) cause differences in nori color and texture. These differences—whether a nori is black or green, thick or thin, for example—are not determinants of quality, but should be considered when selecting nori for particular purposes or preferences.
General Characteristics
Korean nori (not the flavored type) sells for about 200 yen for a package of ten sheets. Each sheet is thin, rough in appearance, and without much aroma. With its mild flavor, Korean nori is a good match for ingredients such as those used in Korean norimaki, with more prominent flavor profiles. Its ability to stretch also makes it a good choice for futomaki (thick norimaki).
Setouchi nori (labelled specifically for use in onigiri) is readily available and inexpensive, at around 400 yen for ten sheets (each sheet precut for wrapping onigiri). Thick and black, it is ideal for times when onigiri will be prepared well ahead of the time when they will be eaten. Used with onigiri, it will take on a moist texture that enhances the eating experience. In addition, its deep black color makes it useful for creating kyaraben (character bentos).
Ariake first-harvest nori is sold at specialty stores at about 1,000 yen for ten sheets (precut into thirds). Its appearance is translucent and glossy, and its flavor intense. This nori is best for onigiri that will be consumed immediately after they are made. When onigiri will be prepared well ahead of the time when they will be eaten, storing the nori separately from the onigiri and then wrapping the onigiri with the nori immediately before eating will prevent the nori from becoming too soft and allow it to retain a crispy texture.
Recipe Developed by Maki Ogawa


Leave a comment